How to create new orders

Diệu Linh
Cập nhật Lần cuối 5 năm trước
After you have connected Shopify App or WooCommerce API App, you will start placing orders.
Attention:
- You can still order from TeeAllover without connecting the App then you will order using CSV.
- The benefit of connecting the App helps you to automate many stages (Automatic Product Push to Shopify/WooCommerce/CSV, Automated Fulfillment for Tracking, Automatic Loading of Orders).
- Once You have connected the APP and ordered a brand new ORDER from the time of connecting Apps
- Create Campaign -> Upload Mockup and Design (for manufacturers) -> Shoot Products to Shopify/Woo/CSV -> Have self-accepting system orders -> Self-fulfilling Tracking
Create Campaign (like other platforms)
You can create a new Campaign to upload the design/mockup of many products and then shoot directly to Shopify/WooCommerce/CSV or Save that Campaign to place an order for a later order.
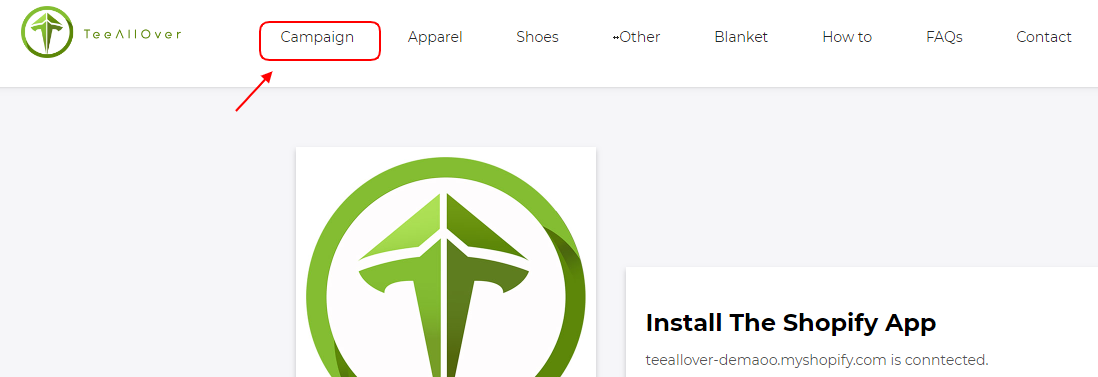
Click on "Campaign"
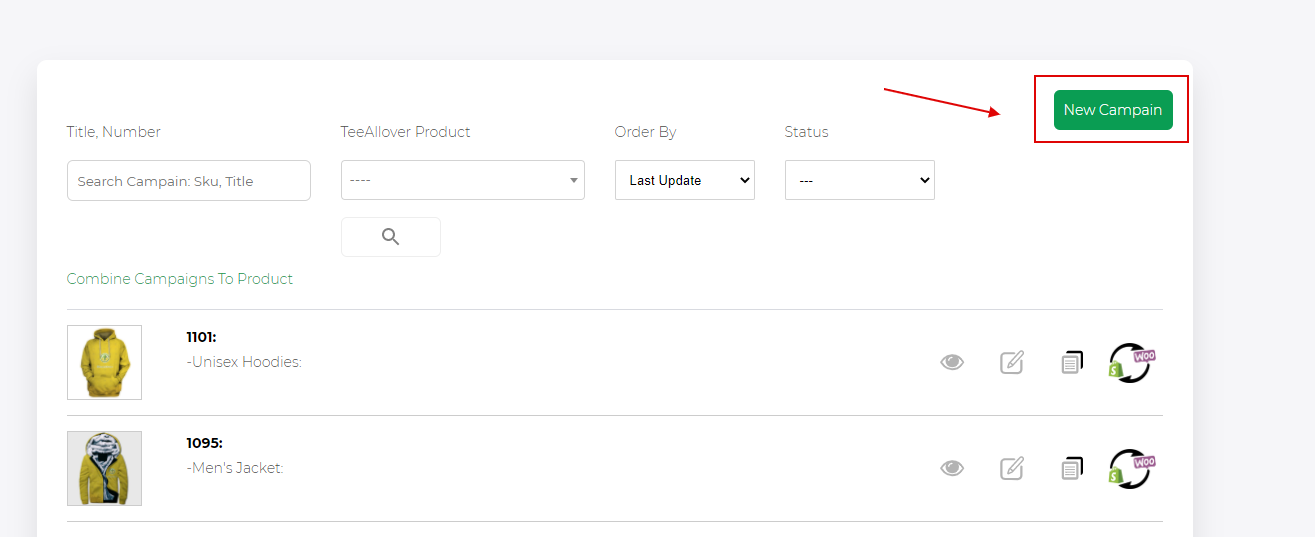
Next, click on “Add New” to select a product
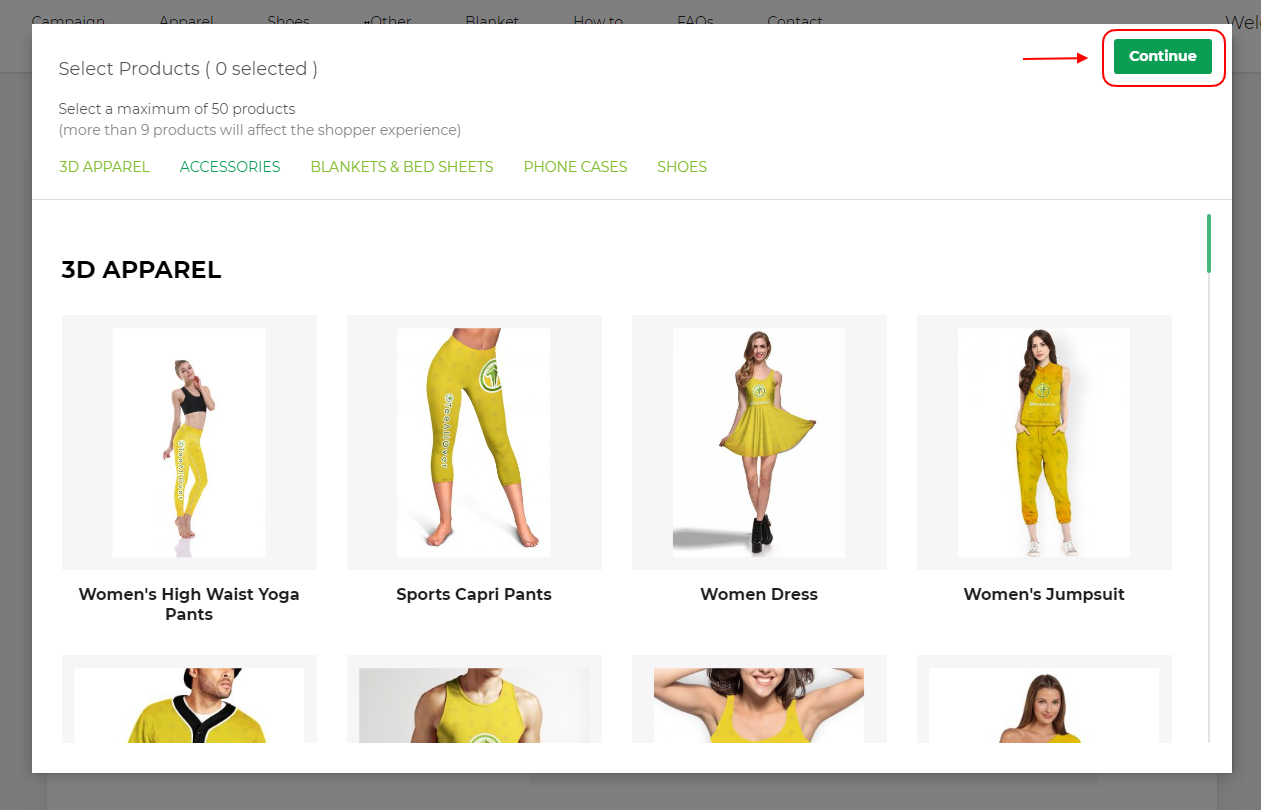
Here you can choose from 1 product to 50 products for a Campaign. Recommended 1 Campaign with desing should only choose from one to 9 products.
When finished, click “Continue”
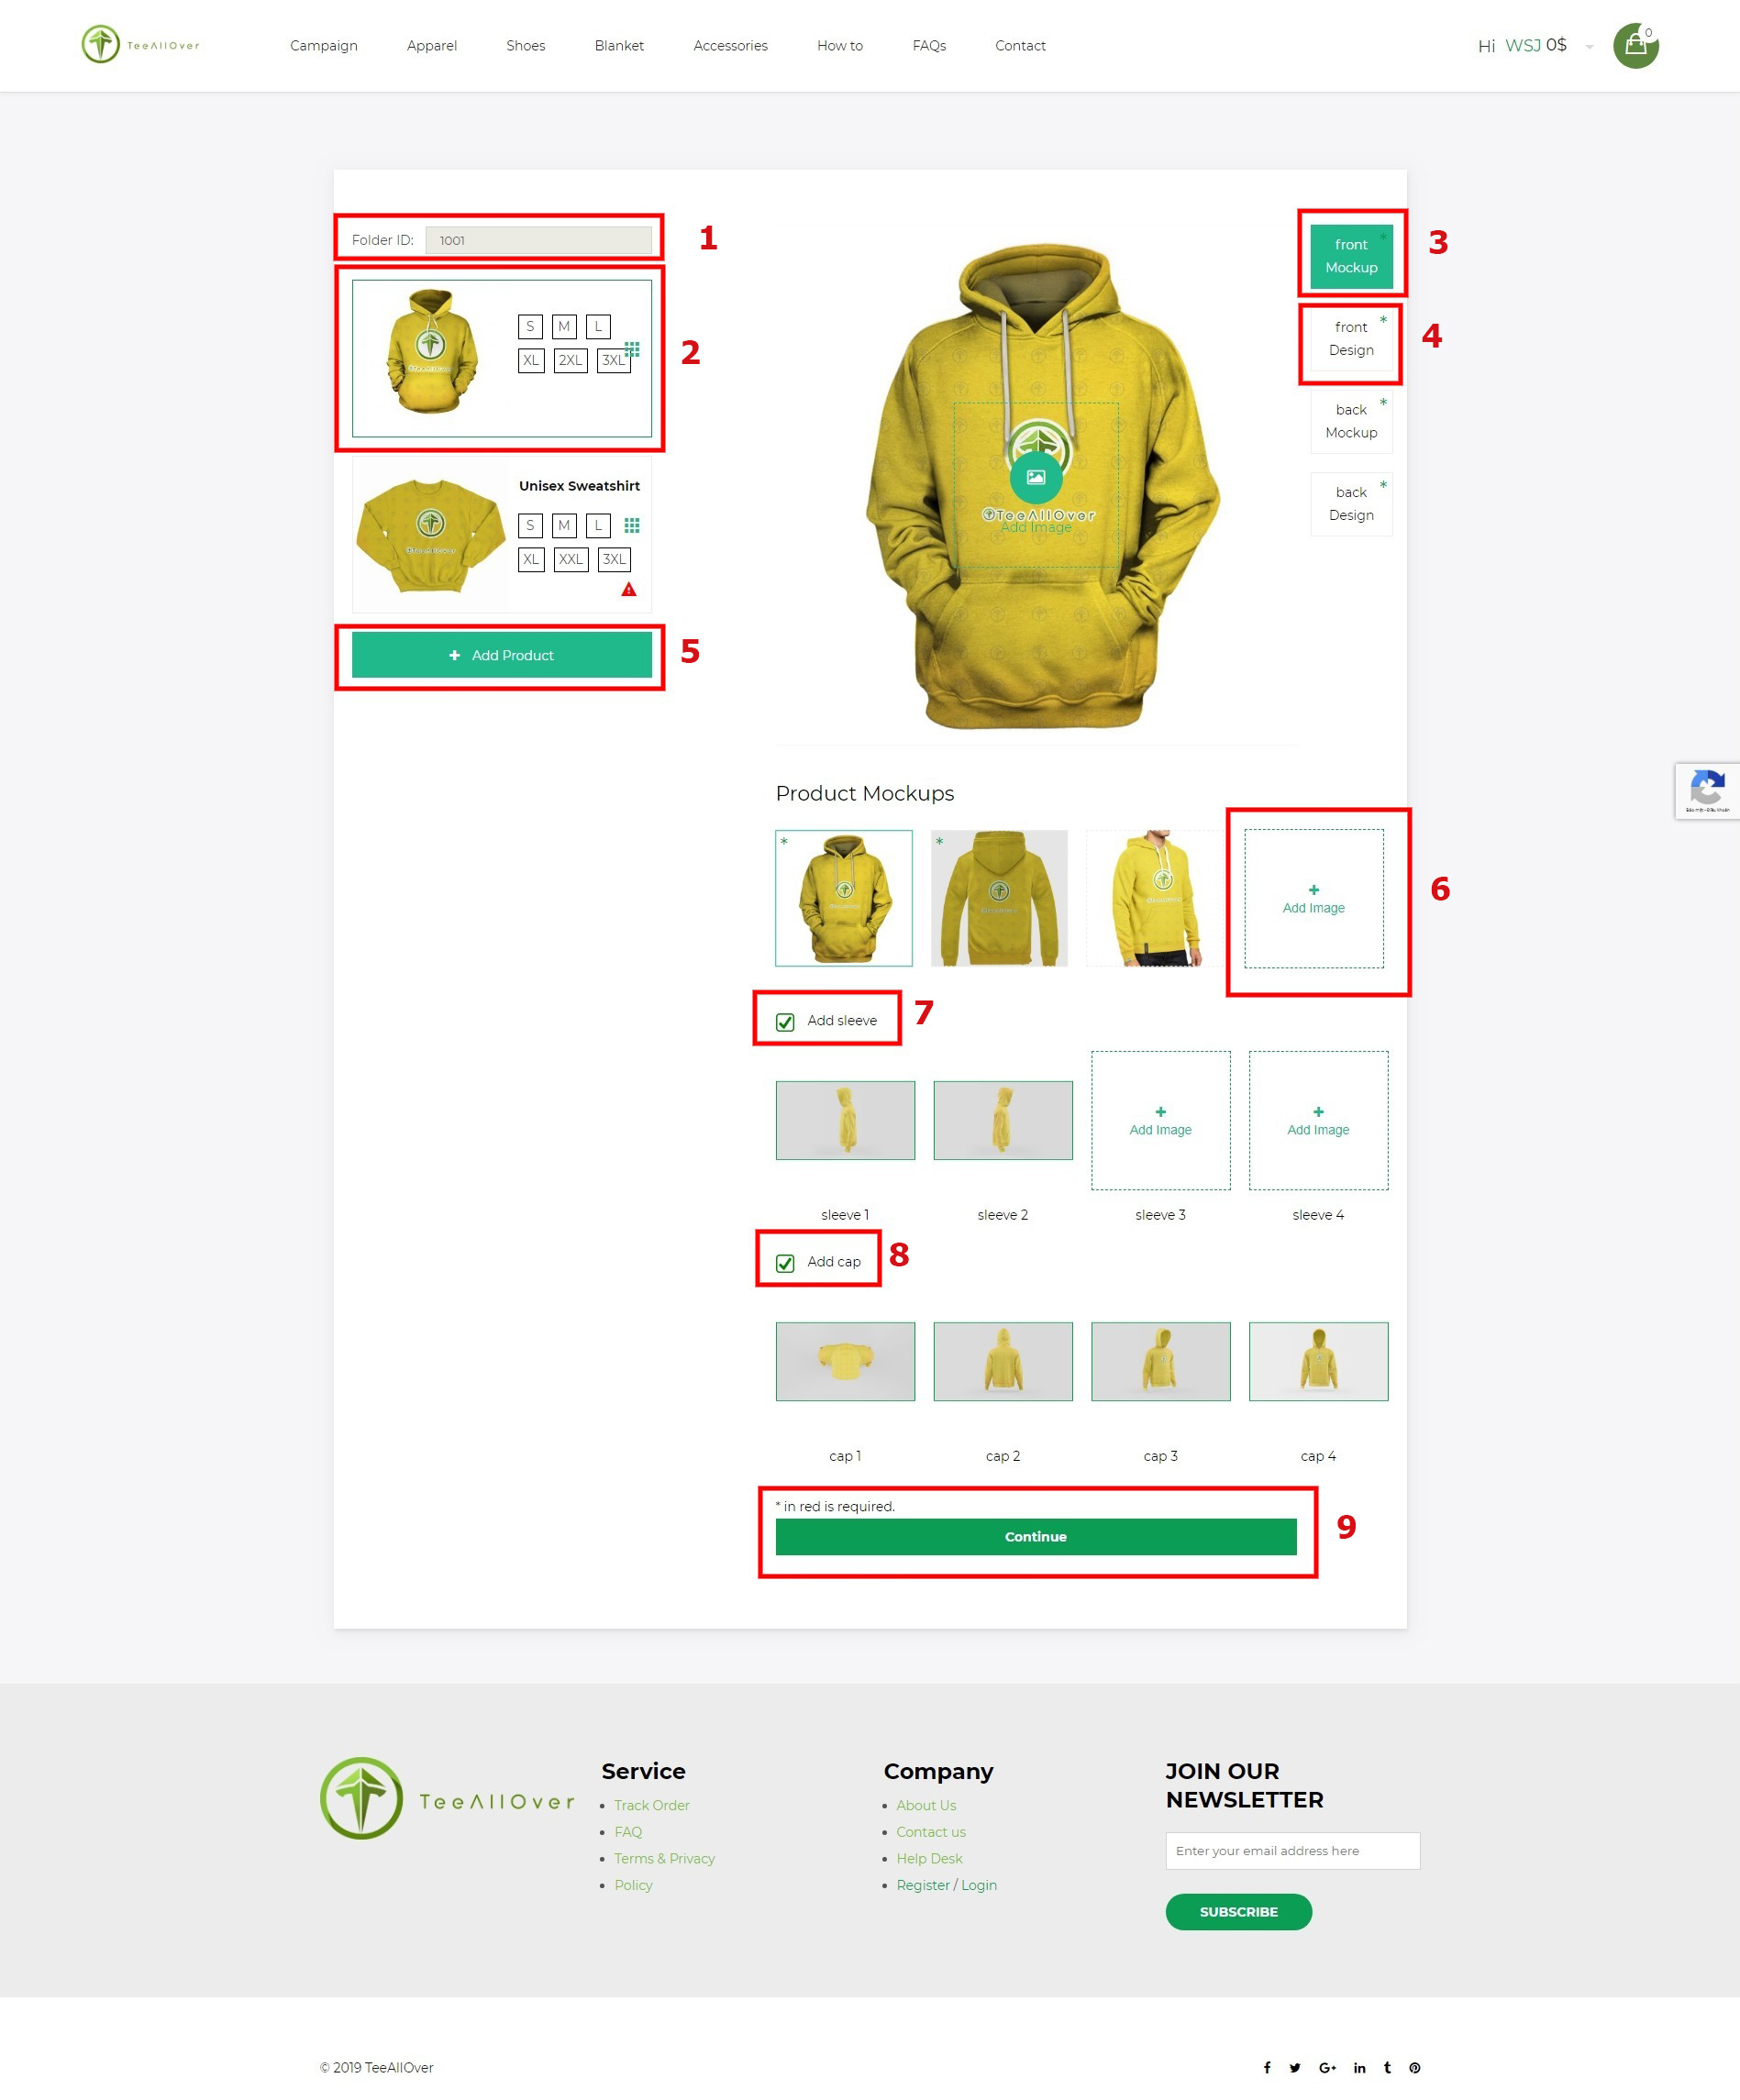
Explanation of the NUMBER circle in the picture above:
- Box 1: The design code that we will automatically generate for you so you know how much the Campaign is (As shown in the picture is Campaign number 1001), you don't have to edit it here.
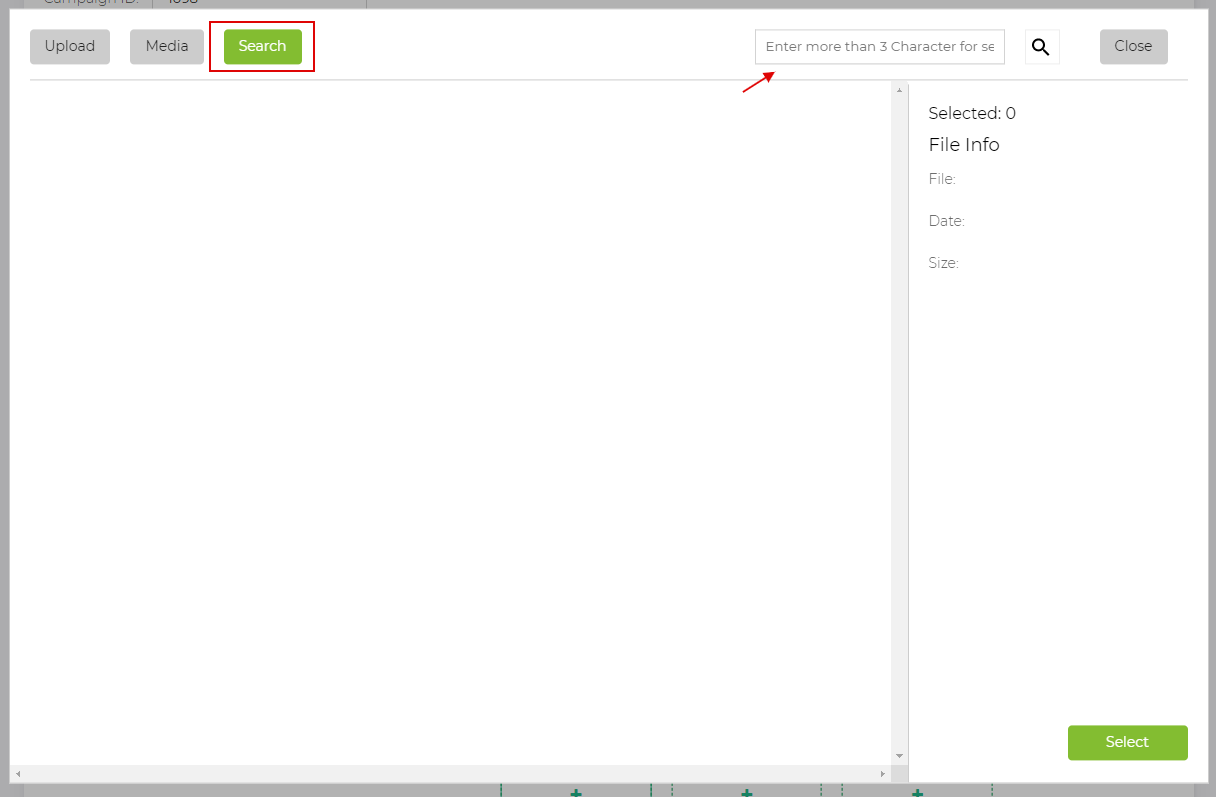
- Box 2: You want to upload mockup and design for any product, then click on that product, the blue border shows the selected product. Then a new file upload tab will appear - this is a file upload function with significantly improved file upload speed.
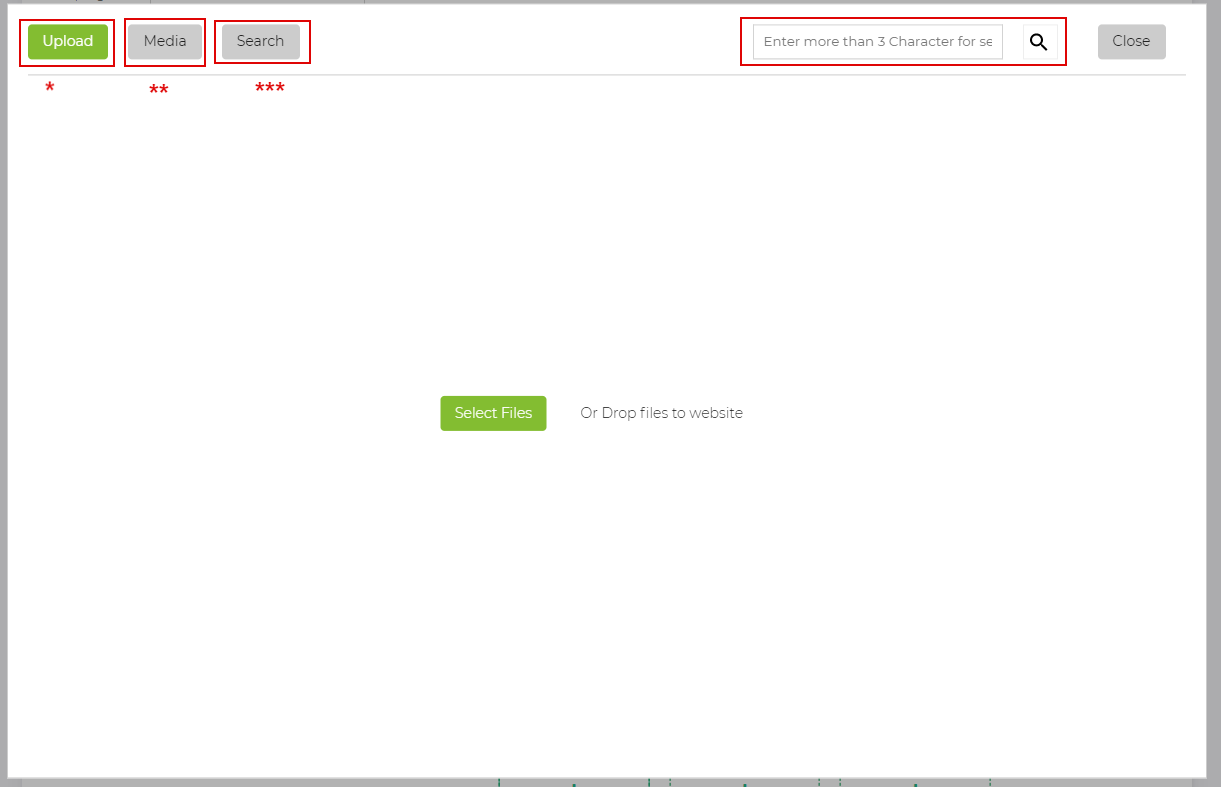
Besides, you can search for old files by name and character you have set easily without having to continue uploading files.
After uploading all for a product, you can choose the next product below and do the same.
- Box 3: You should click "Front mockup" and then upload the mockup: This is the front-end mockup for the manufacturer to base on to print the product. Manufacturers only print when there are enough mockups first, design first, mockup later, design later. If both the front and back are the same in terms of print, you still have to choose the same to get enough pictures in 4 boxes. Some products like Quilt, Phone case will only have Mockup first and design first, you only need to upload 2 photos.
- Box 4: Next, click "front design" which is the design image for that mockup, when dragged into Photoshop, that rectangle will be automatically cropped into a mockup (like the Hoodie example above). This design needs to have enough graphic details on the mockup for the manufacturer to print.
Note: If the background is a color without a picture, you must upload that color image in the backup mockup and back design (eg you create a square of any size, choose red for that square, when uploading to your home). The manufacturer will automatically print the back of the hoodie which is red, they will dot the color code you have chosen)
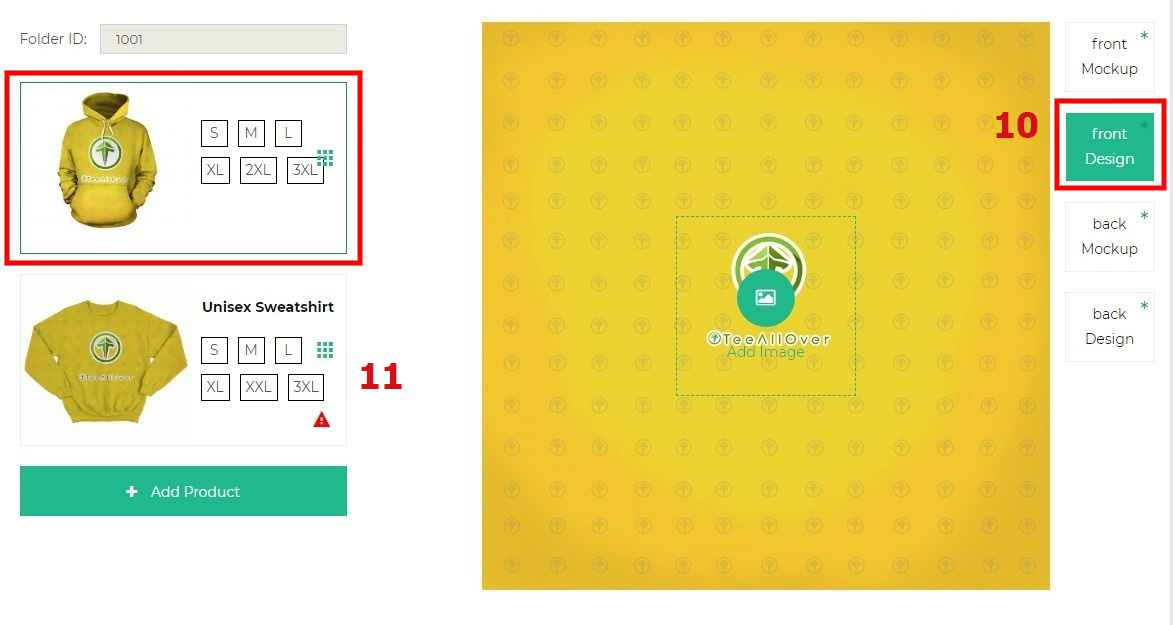
- Box 5 and Box 11: You can add other products to the campaign. When you choose, you will see a blue border selected and you will upload 4 files for this product as above. Currently, each product must be fully updated, the shared design function will be developed later. In addition, you can also delete products in the campaign (clicking on the product will show an "x" for you to delete).
- Box 6: You can upload as many mockups as you want by Add Image to Product Mockups
Attention:
All Mockups will be pushed to Shopify/Woo/CSV, and design files will not be pushed to the site as site junk.
If you want to upload more design files for the manufacturer to understand, you can upload more pictures in this section, then the manufacturer will receive all product images.
- Box 7 and Box 8: For products with a specific design for Hats or arms (eg Hoodie), you can add mockups and designs of hats and arms in these 2 sections. The reading manufacturer will understand and print correctly for you.
- Box 9: After you complete all the steps you click “Continue”
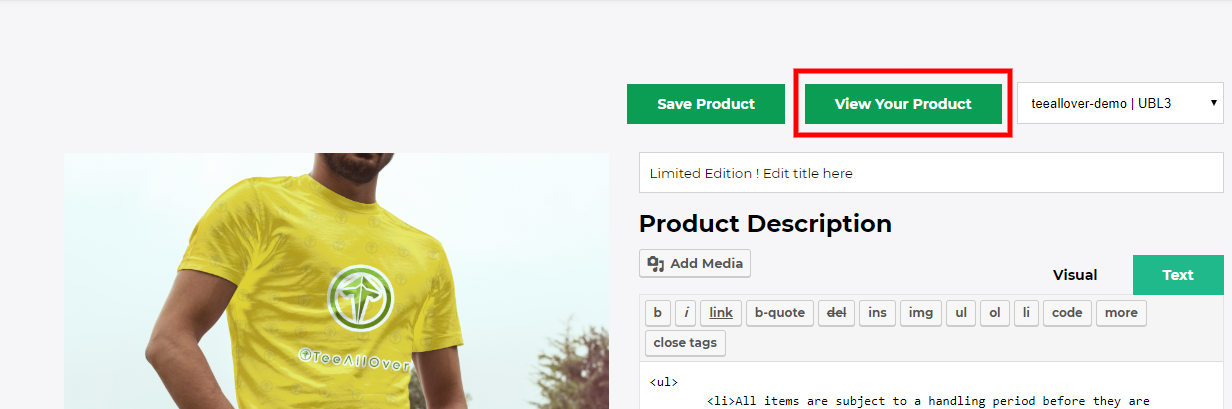
Last step, put the product on shopify/Woo store or export to CSV (Woo/Shopify) or save Campaign
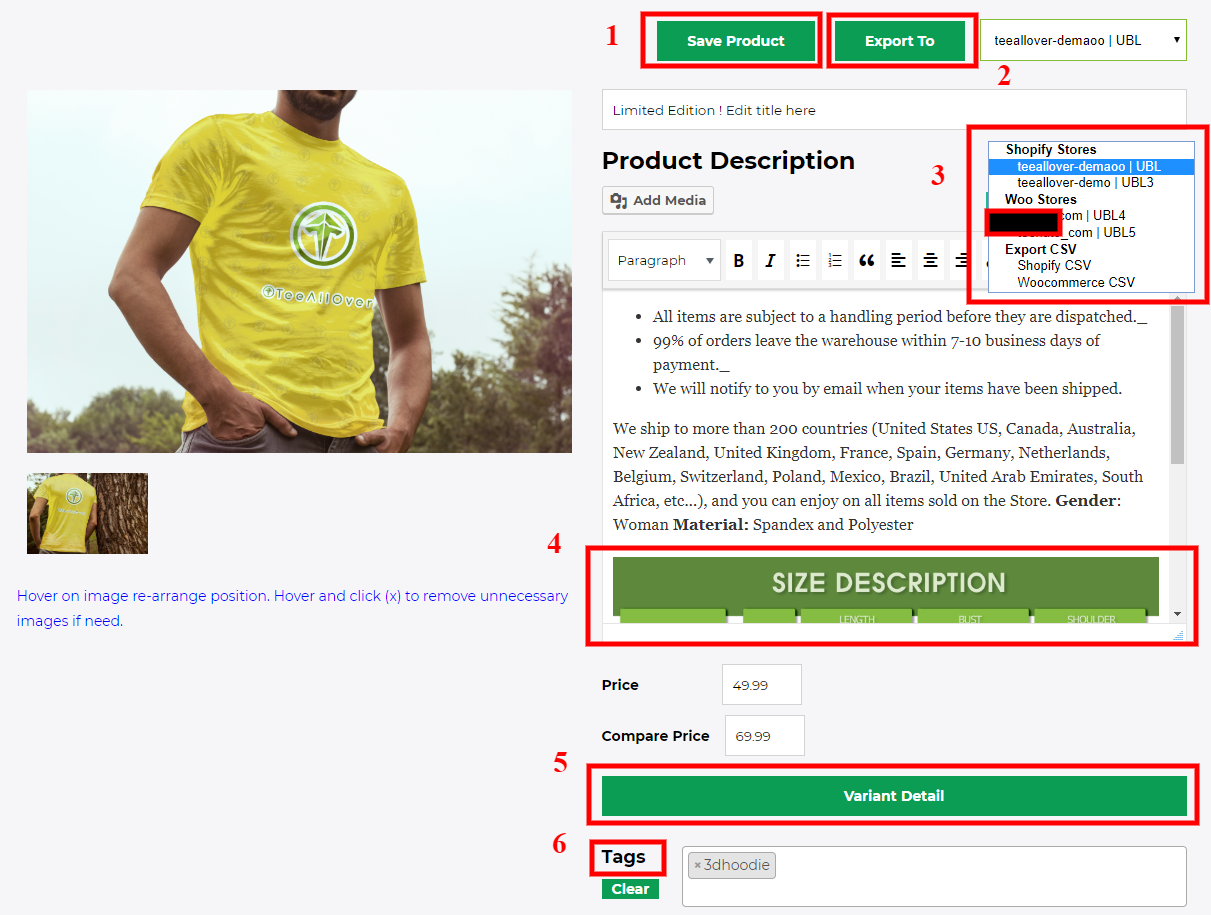
- 1- Save Product (Save Campaign to manage. then you can view that product in the campaign section, you can see a list of campaigns you have created in the Campaign menu, you can completely EDIT Campaign, DUPLICATE, Delete). Campaign)
- 2 & 3 – “Export to”- for you to push the product to the next box for you to choose which Shopify store (if there are multiple stores), or to Woo store, or you can completely export to CSV (Woo /Shopify), then you can use these CSV files to import them manually if you want.
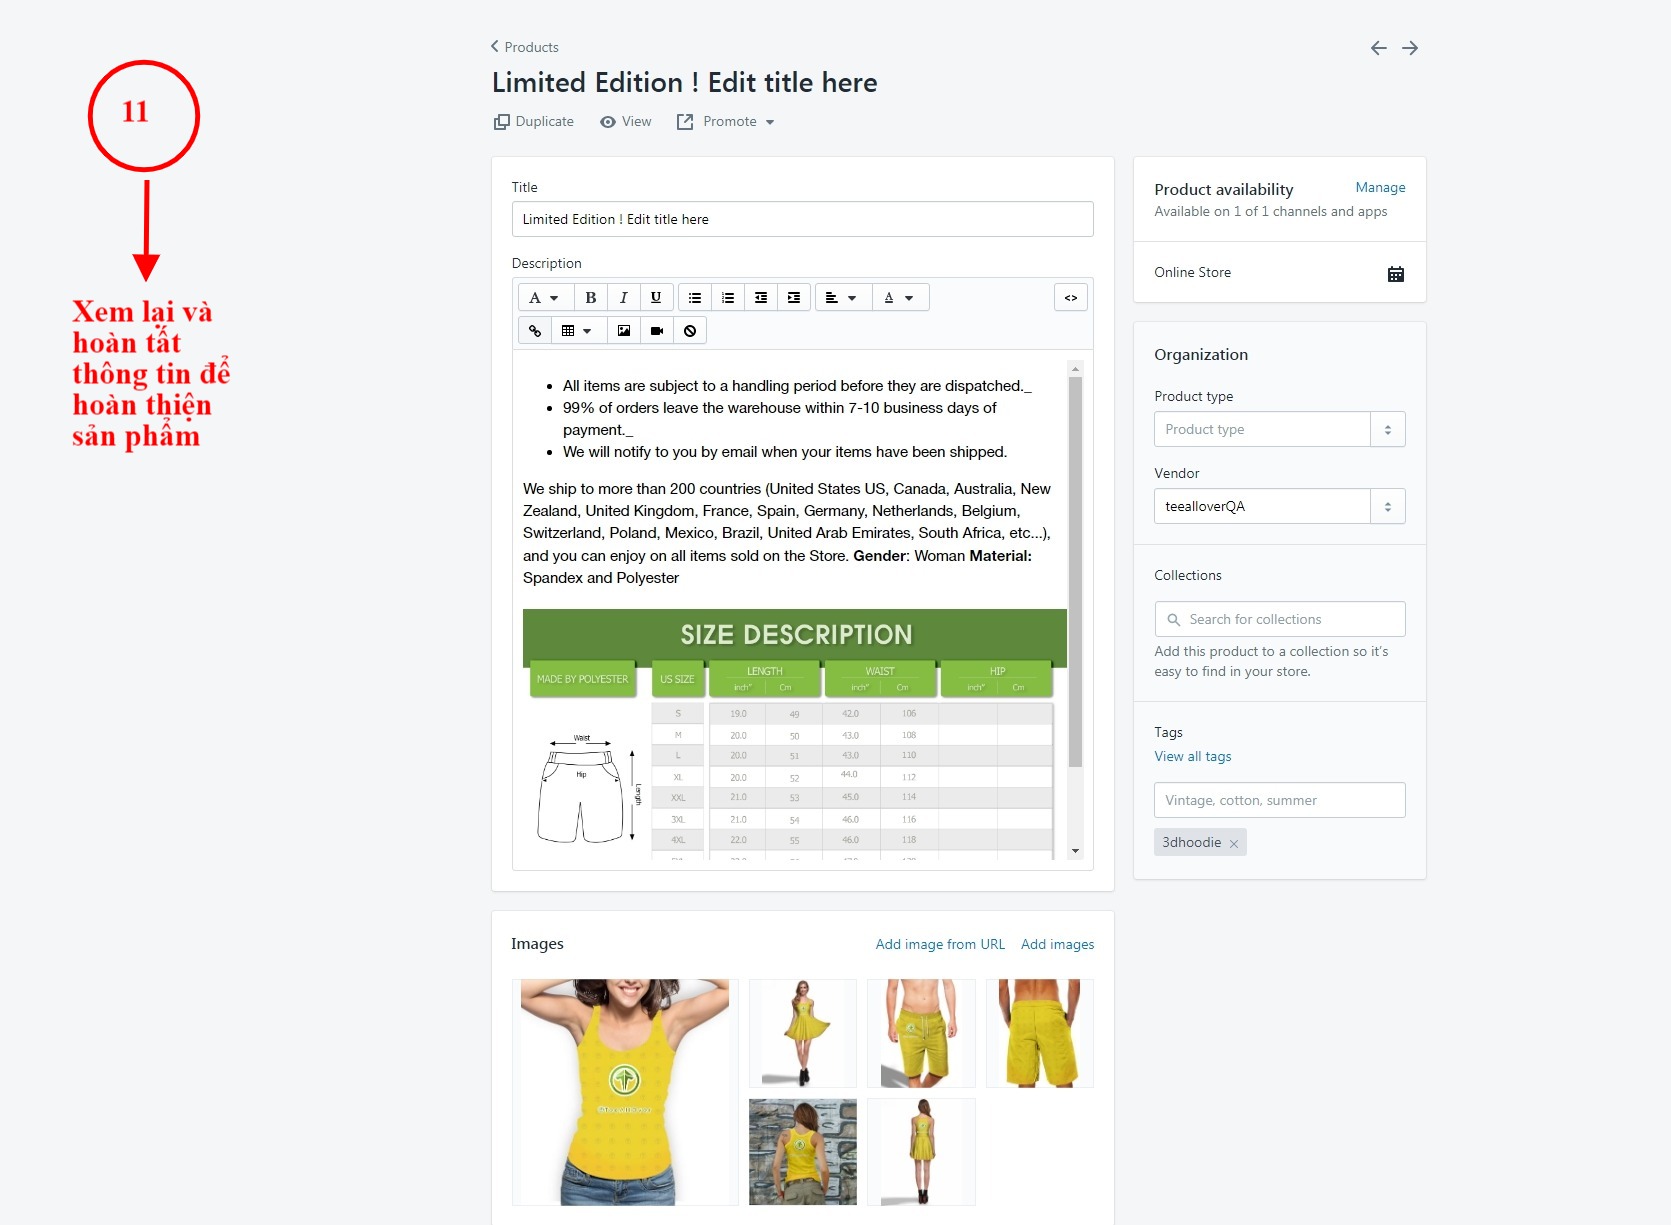
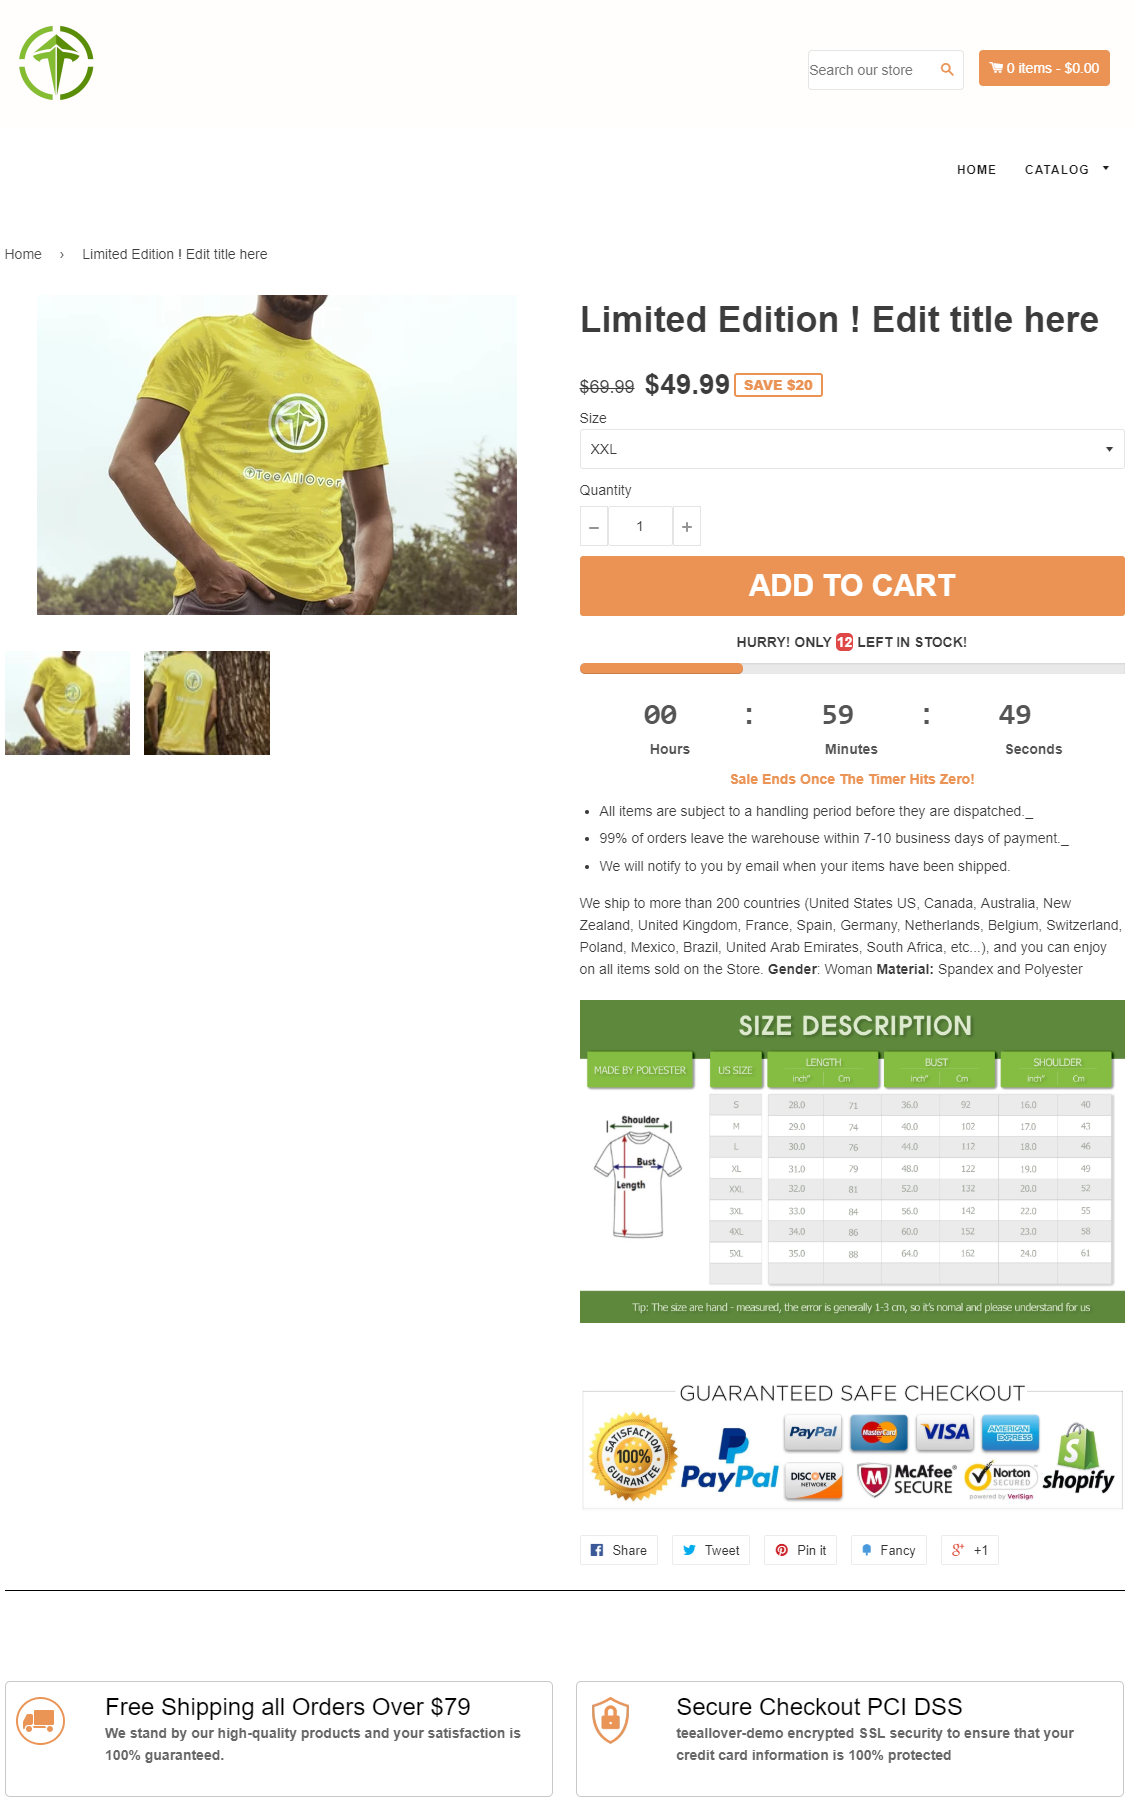
- 4-You can completely edit the Title, Description for the Campaign (then push the camp to Shopify or Woo without having to edit anything). About Size chart will automatically get the correct size chart of the product. When you create as many products, all your Product Size tables are located here. For example, you have 2 products, Tshirt and Hoodie, automatically in the Description section there will be 2 size charts available.
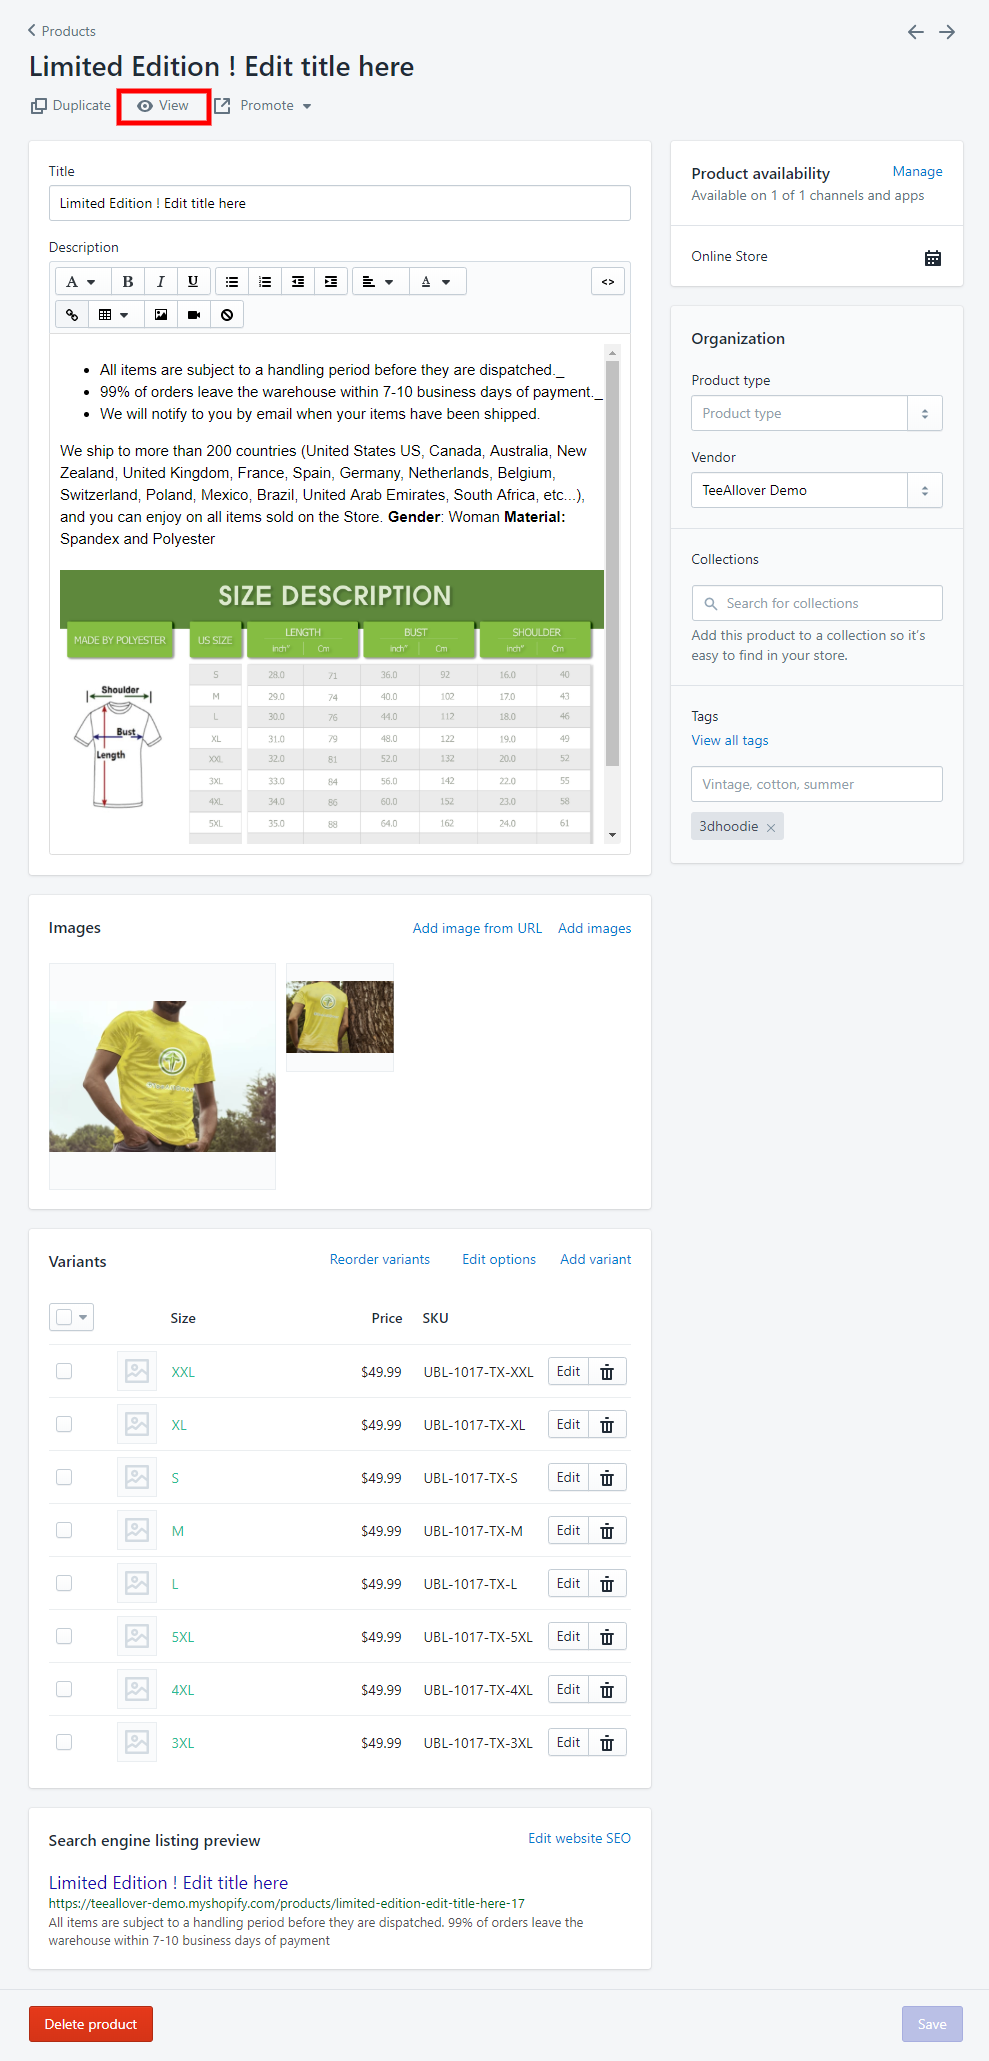
- 5- You can edit the price for other sizes in the Variant Details section (the price includes both Regular Price and Sale Off Price)
- 6- You can add tags to the campaign if needed
After completing the steps, if you have sales, there is nothing to do.
The system will automatically recognize when you have an order and send an order email at 2pm every day.
Then you pay according to the information on the invoice received.
Note: From the time you receive the order email, you have 24 hours to change the size (size), change shipping information, cancel the order, add the design (if missing)
After 24 hours the product has been put into production will not be changed anymore.